Specifications
Model
SRTS-A01
Battery
3V DC (2 × 1.5V AA)
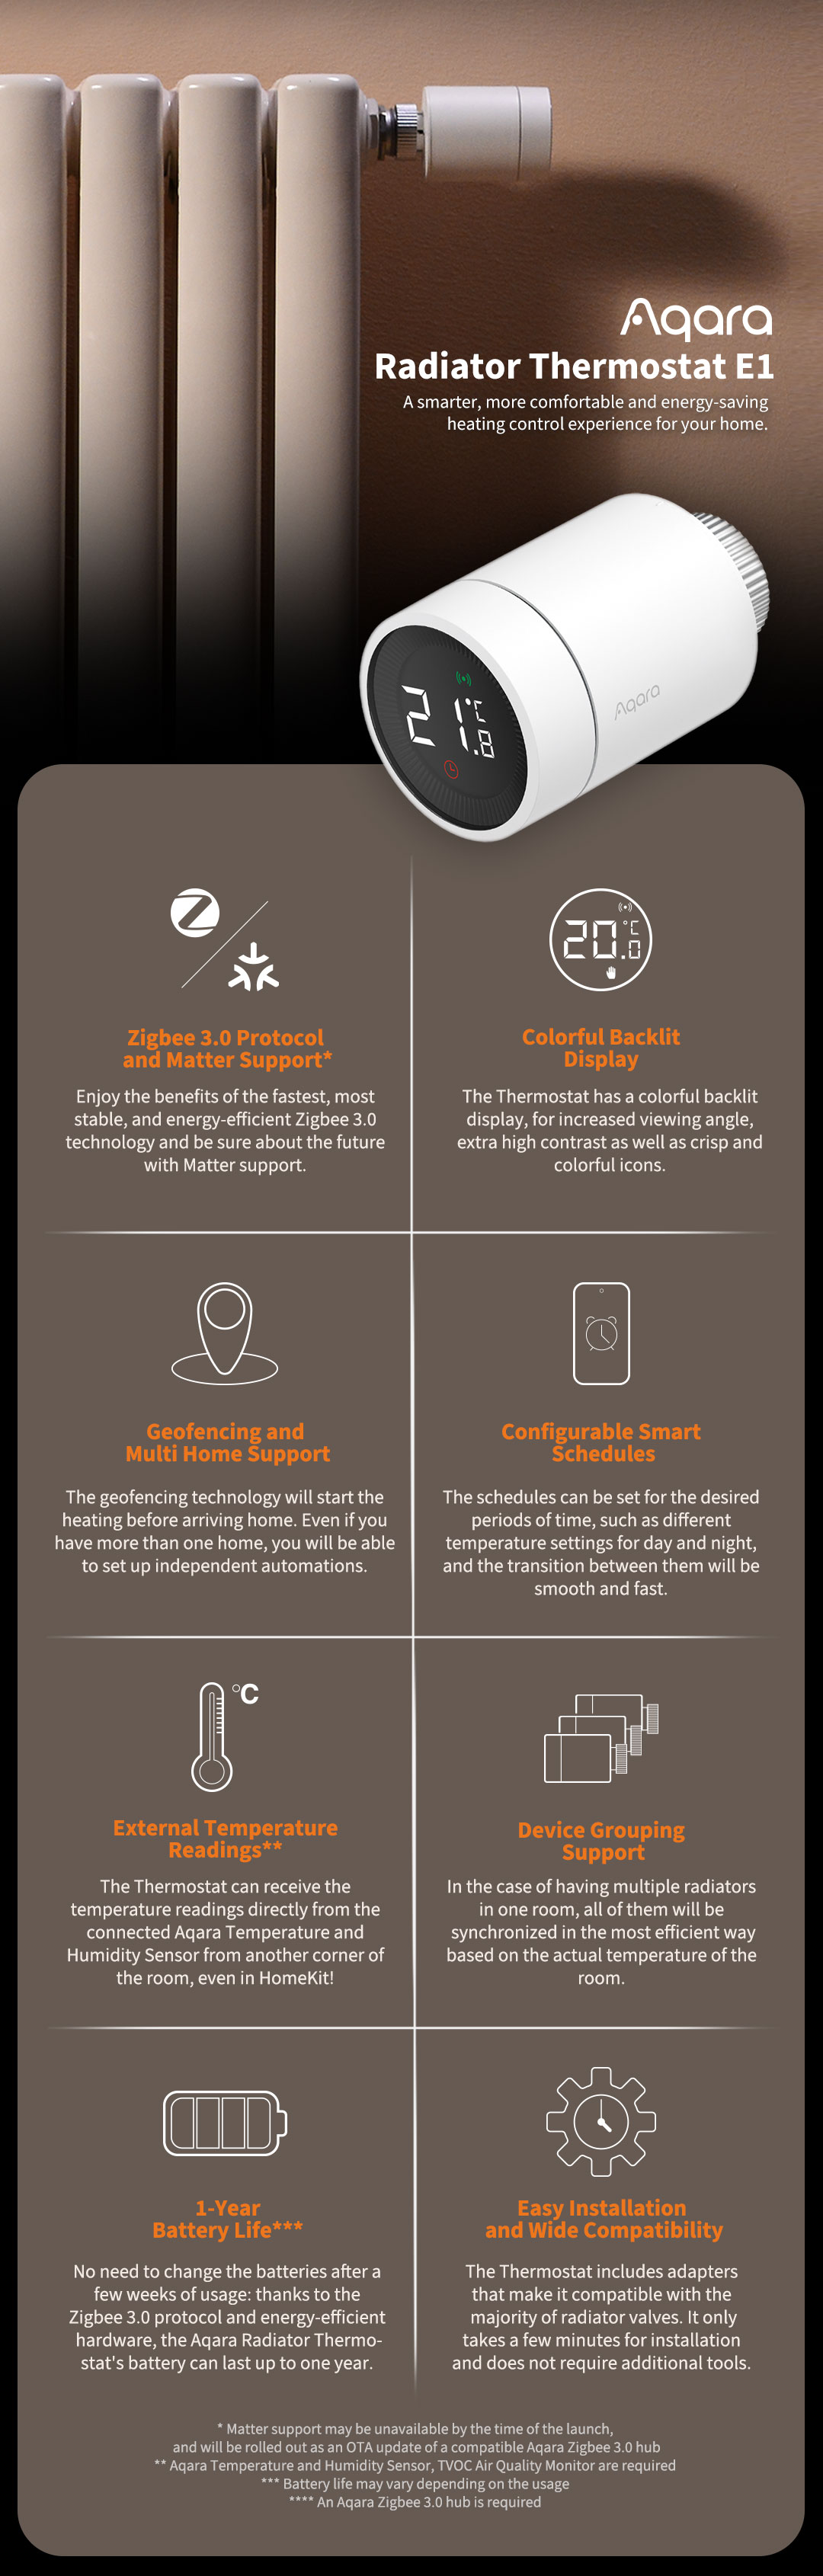
Wireless Protocols
Zigbee 3.0
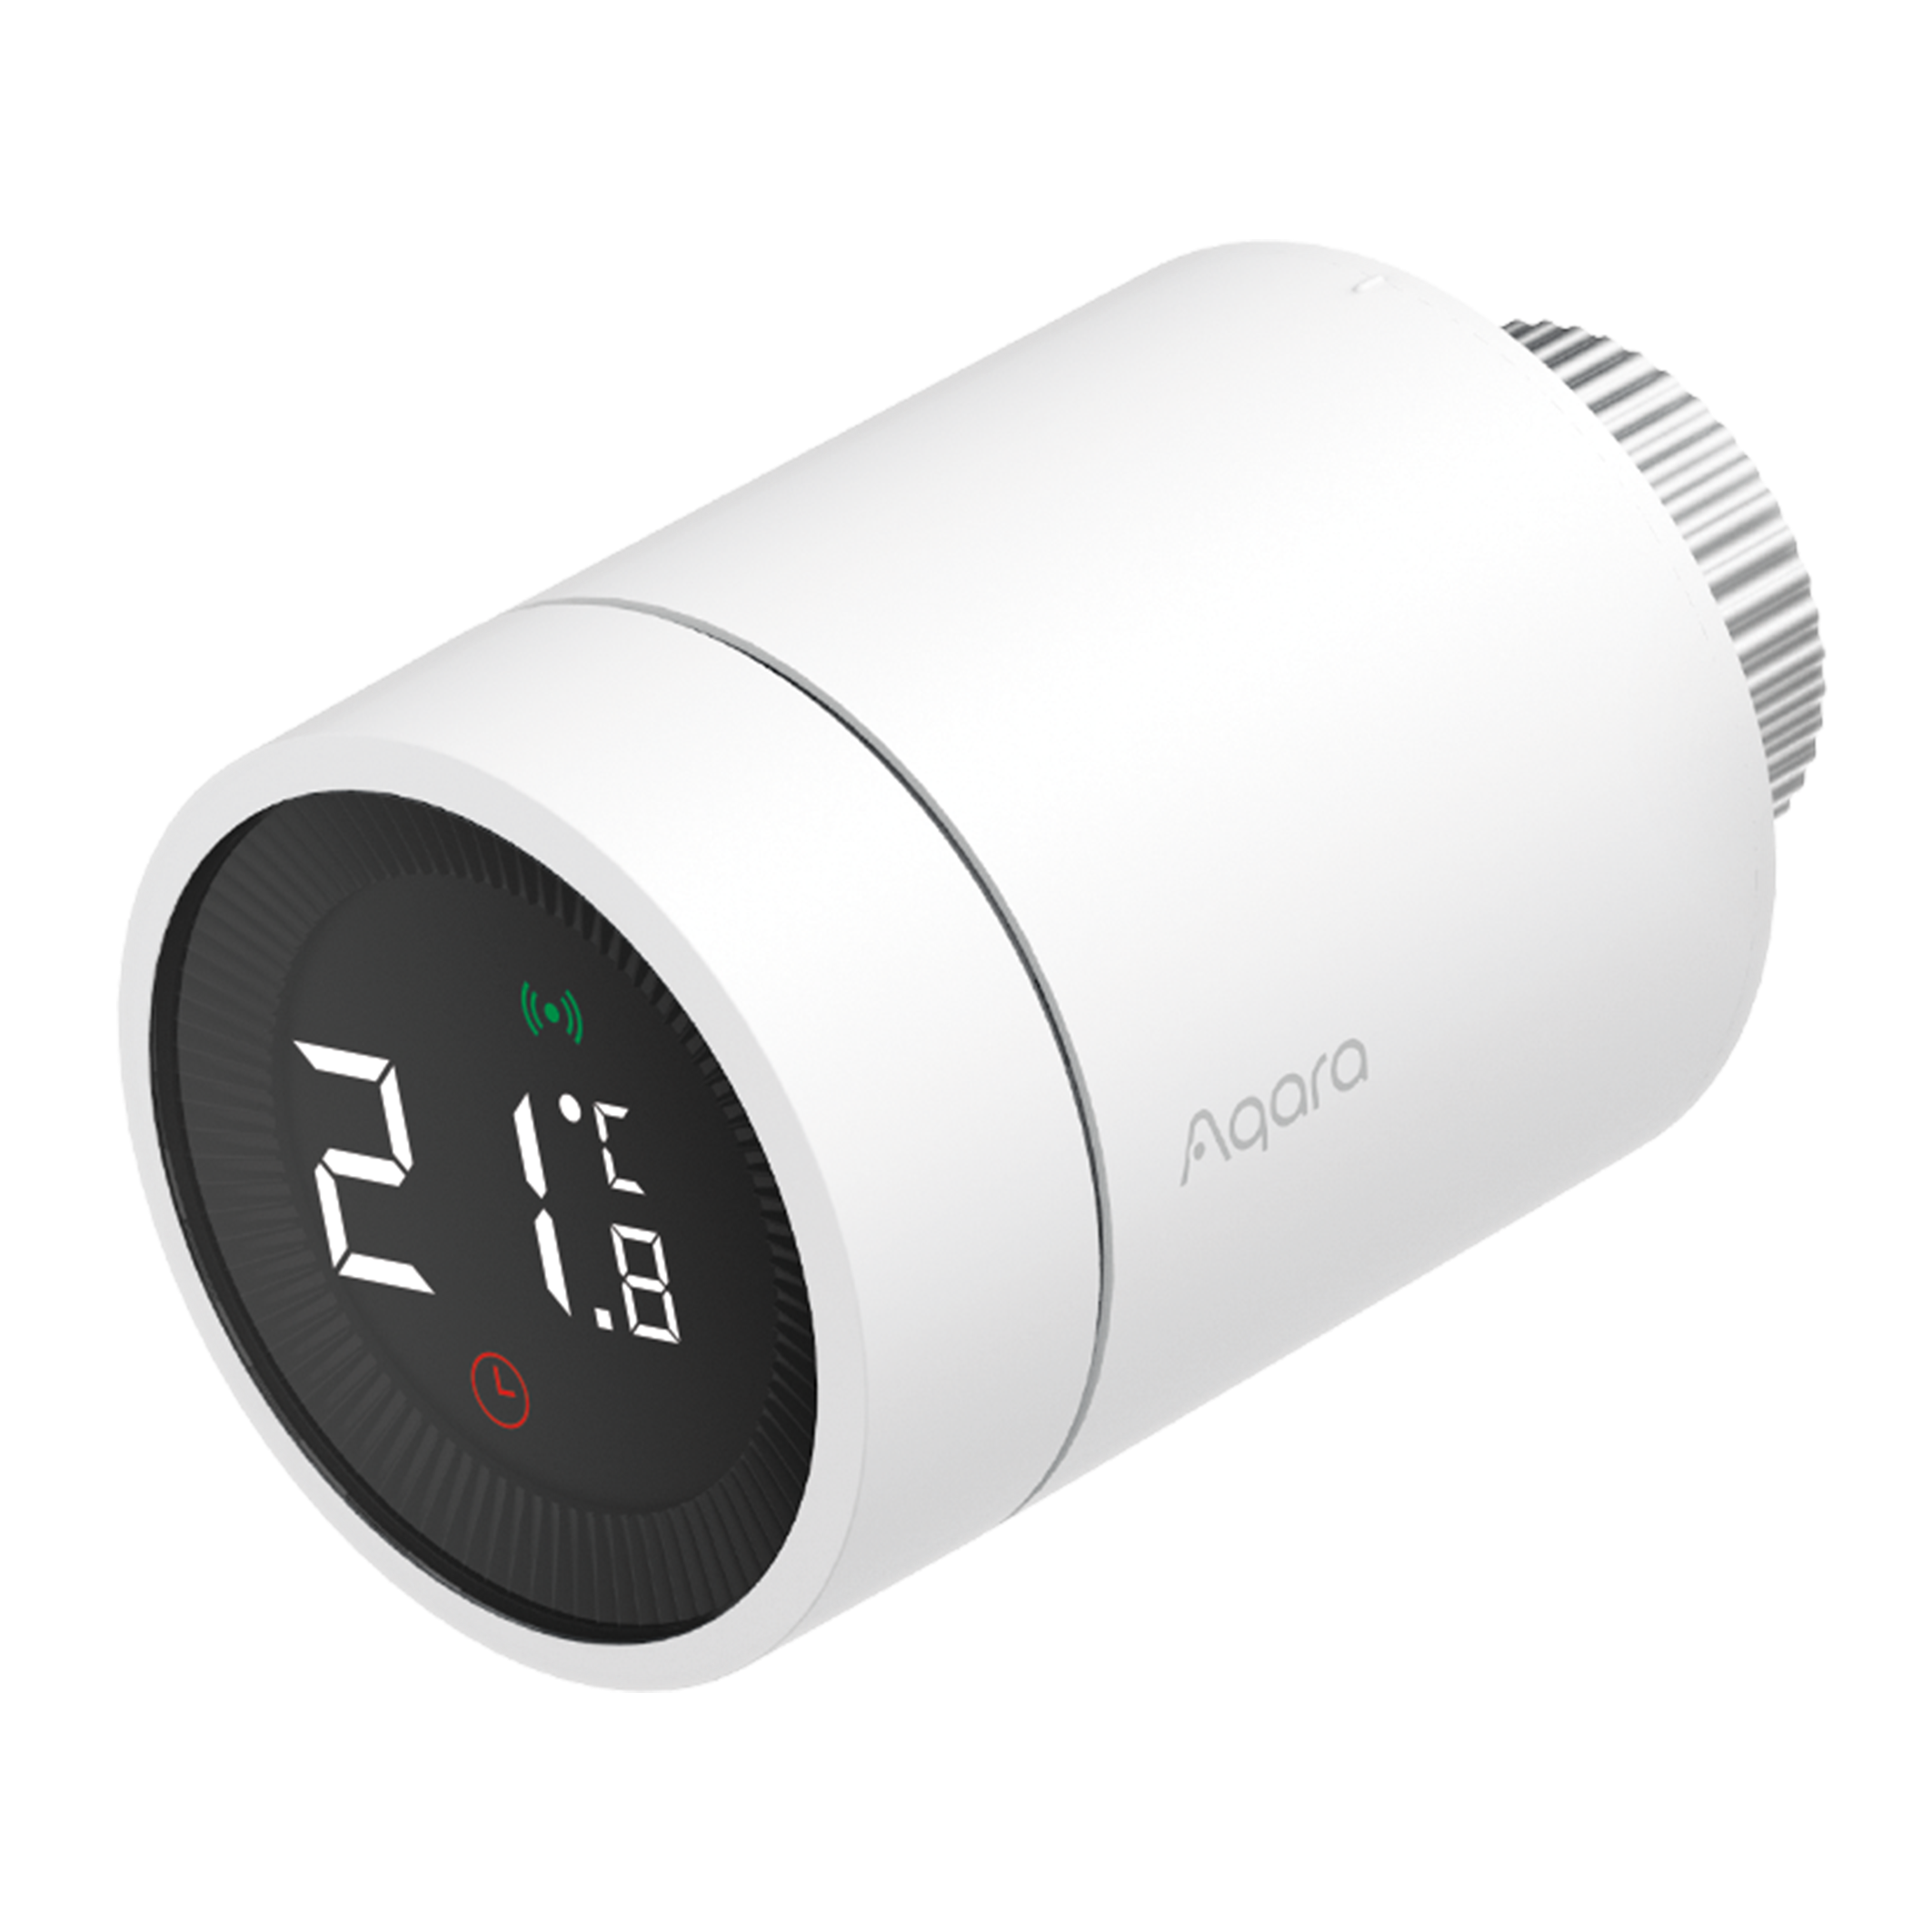
Dimensions
Φ57×89 mm (Φ2.24×3.5 in.)
Operating Temperature
0°C ~ 40°C (32°F ~ 104°F)
Operating Humidity
0 ~ 95% RH, no condensation
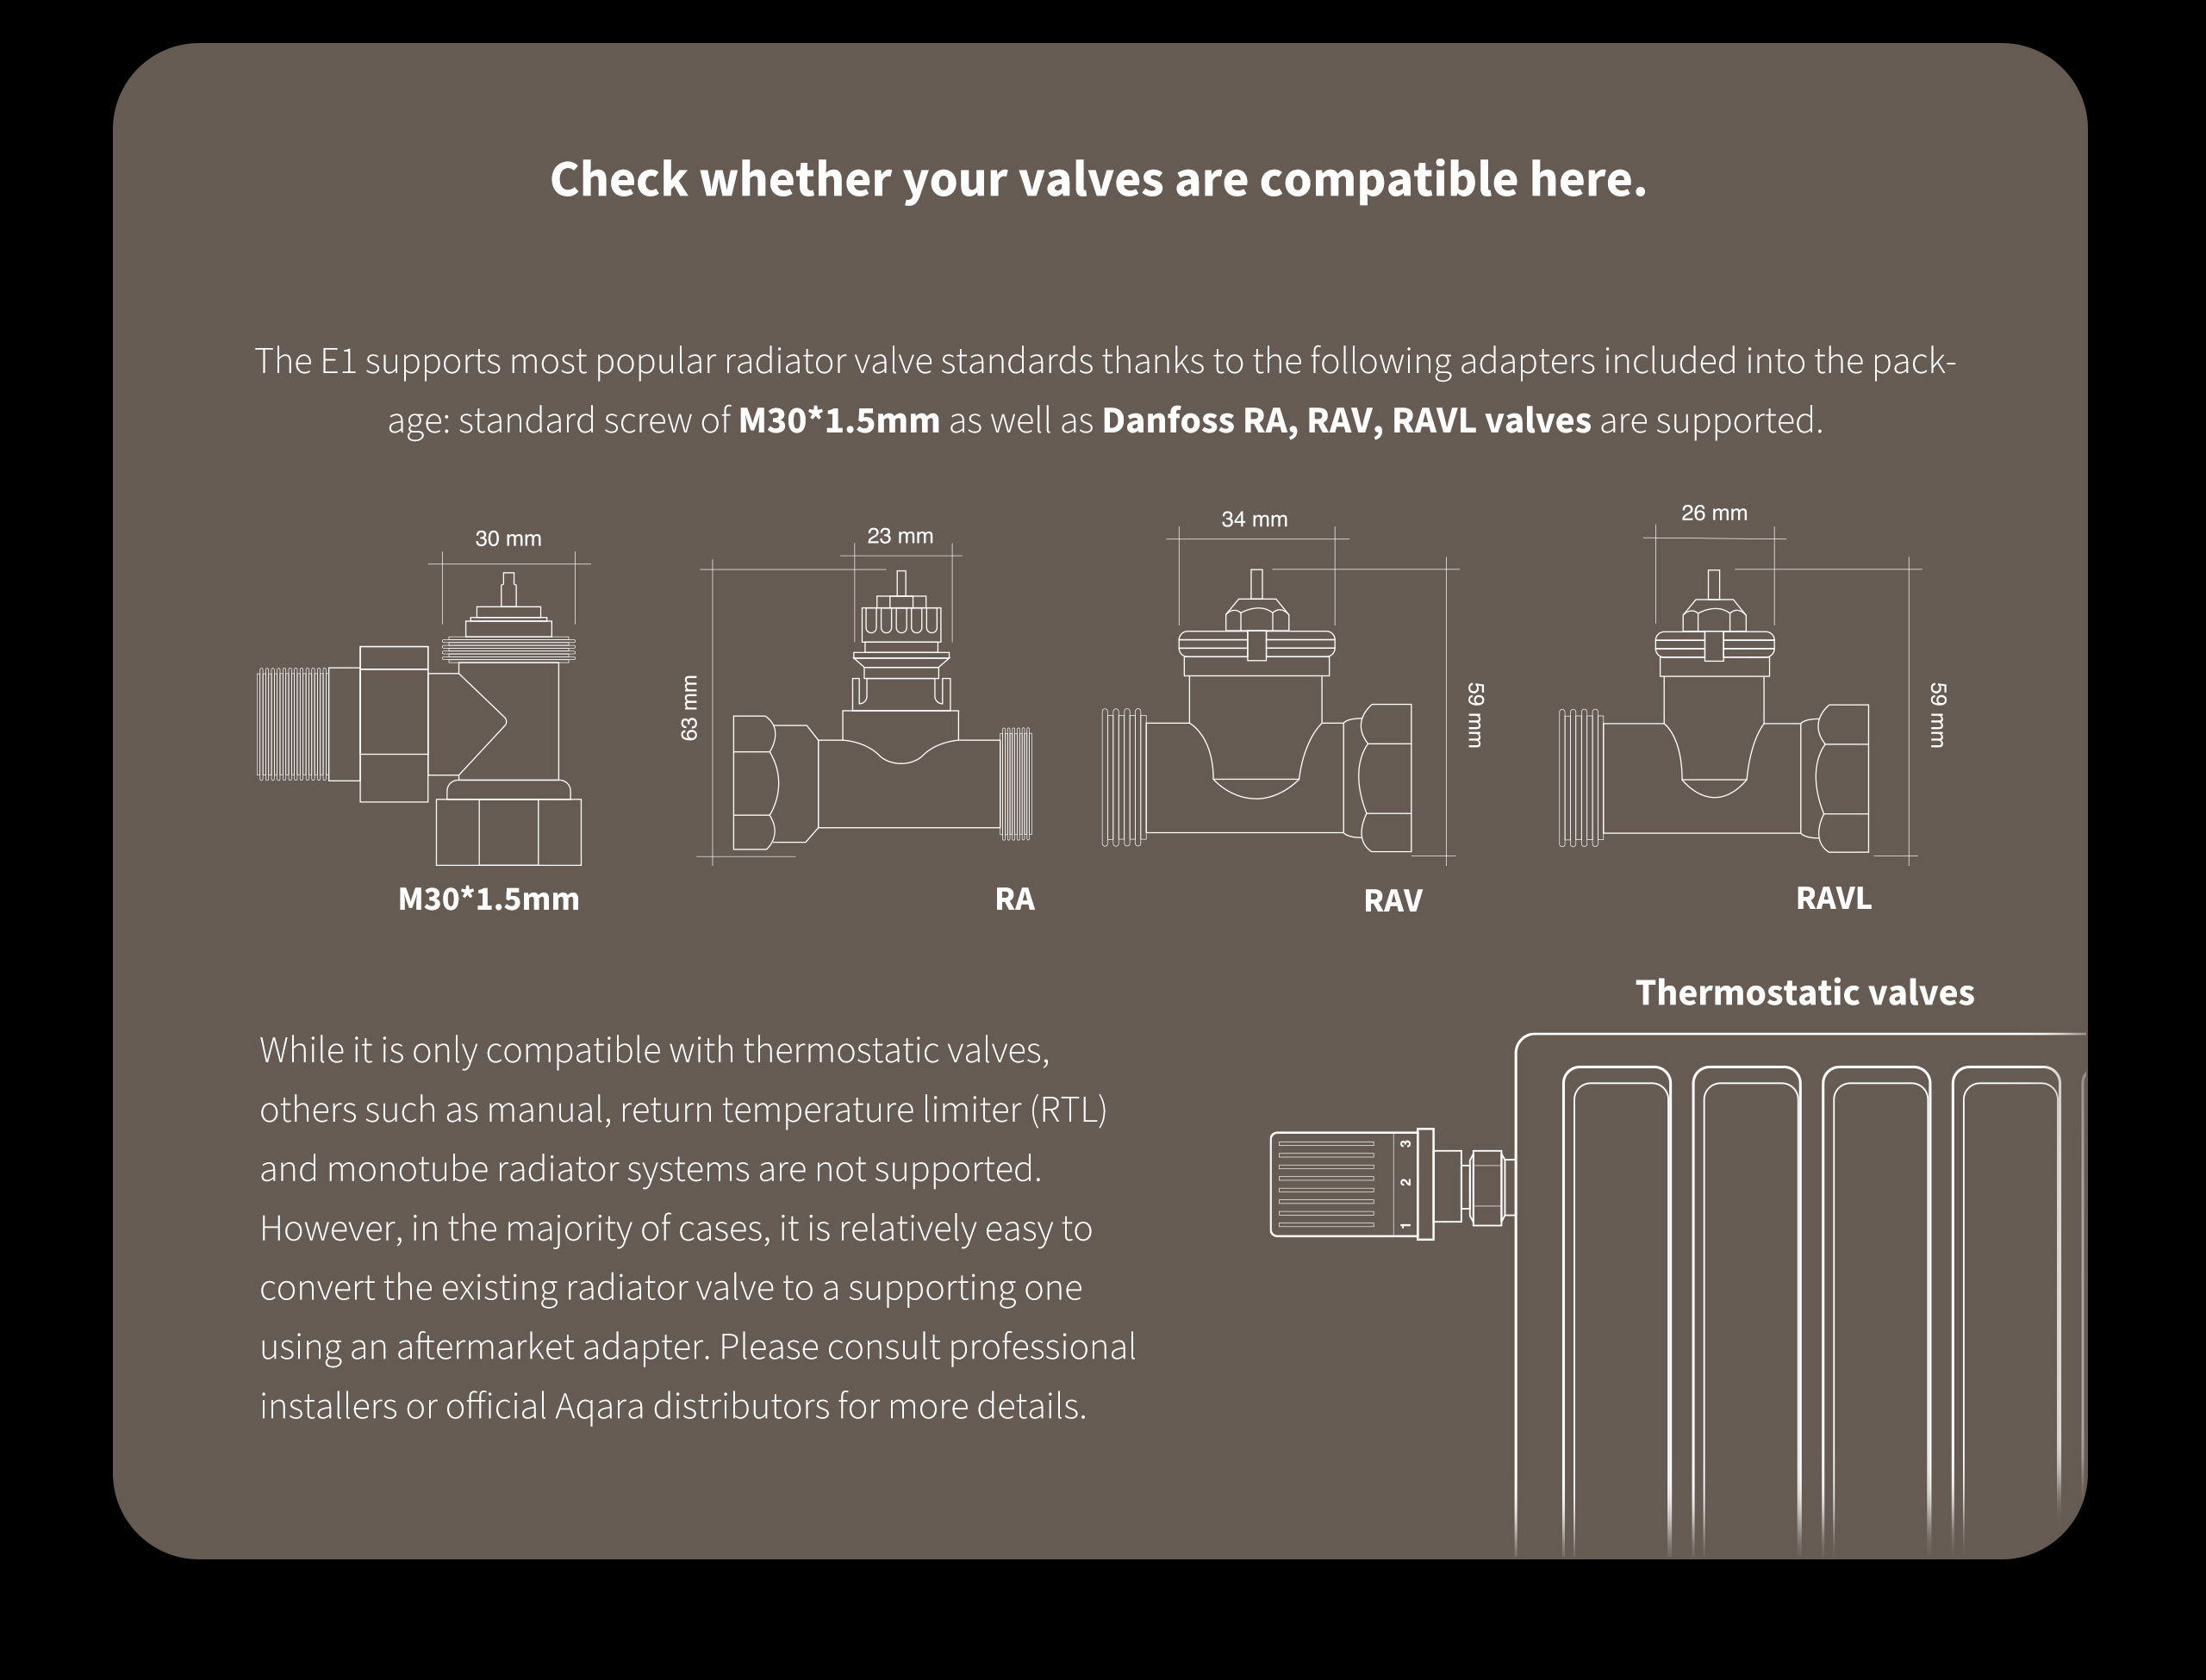
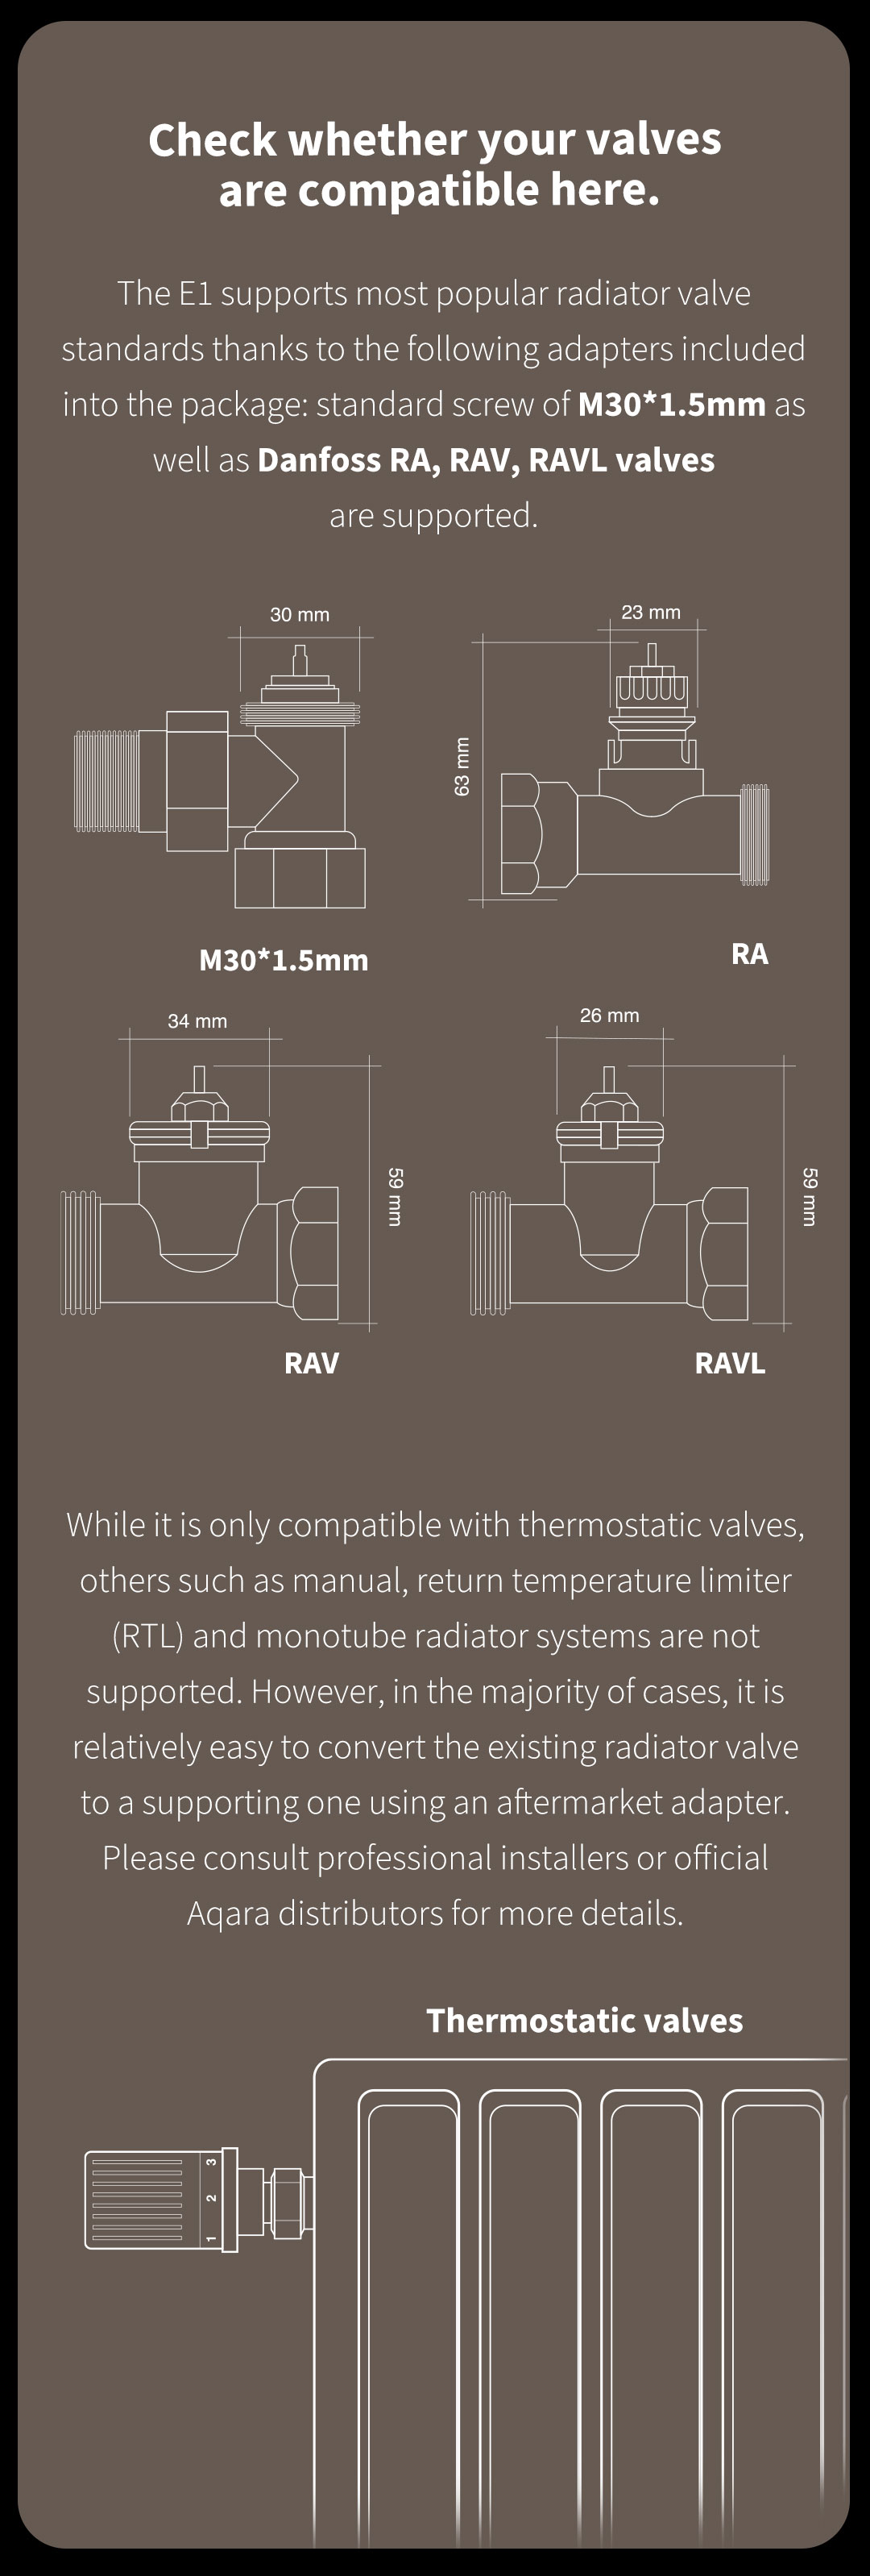
Threaded Connection
M30×1.5 mm
Zigbee Maximum Output Power
<10 dBm
Zigbee Operation Frequency
2405-2480 MHz
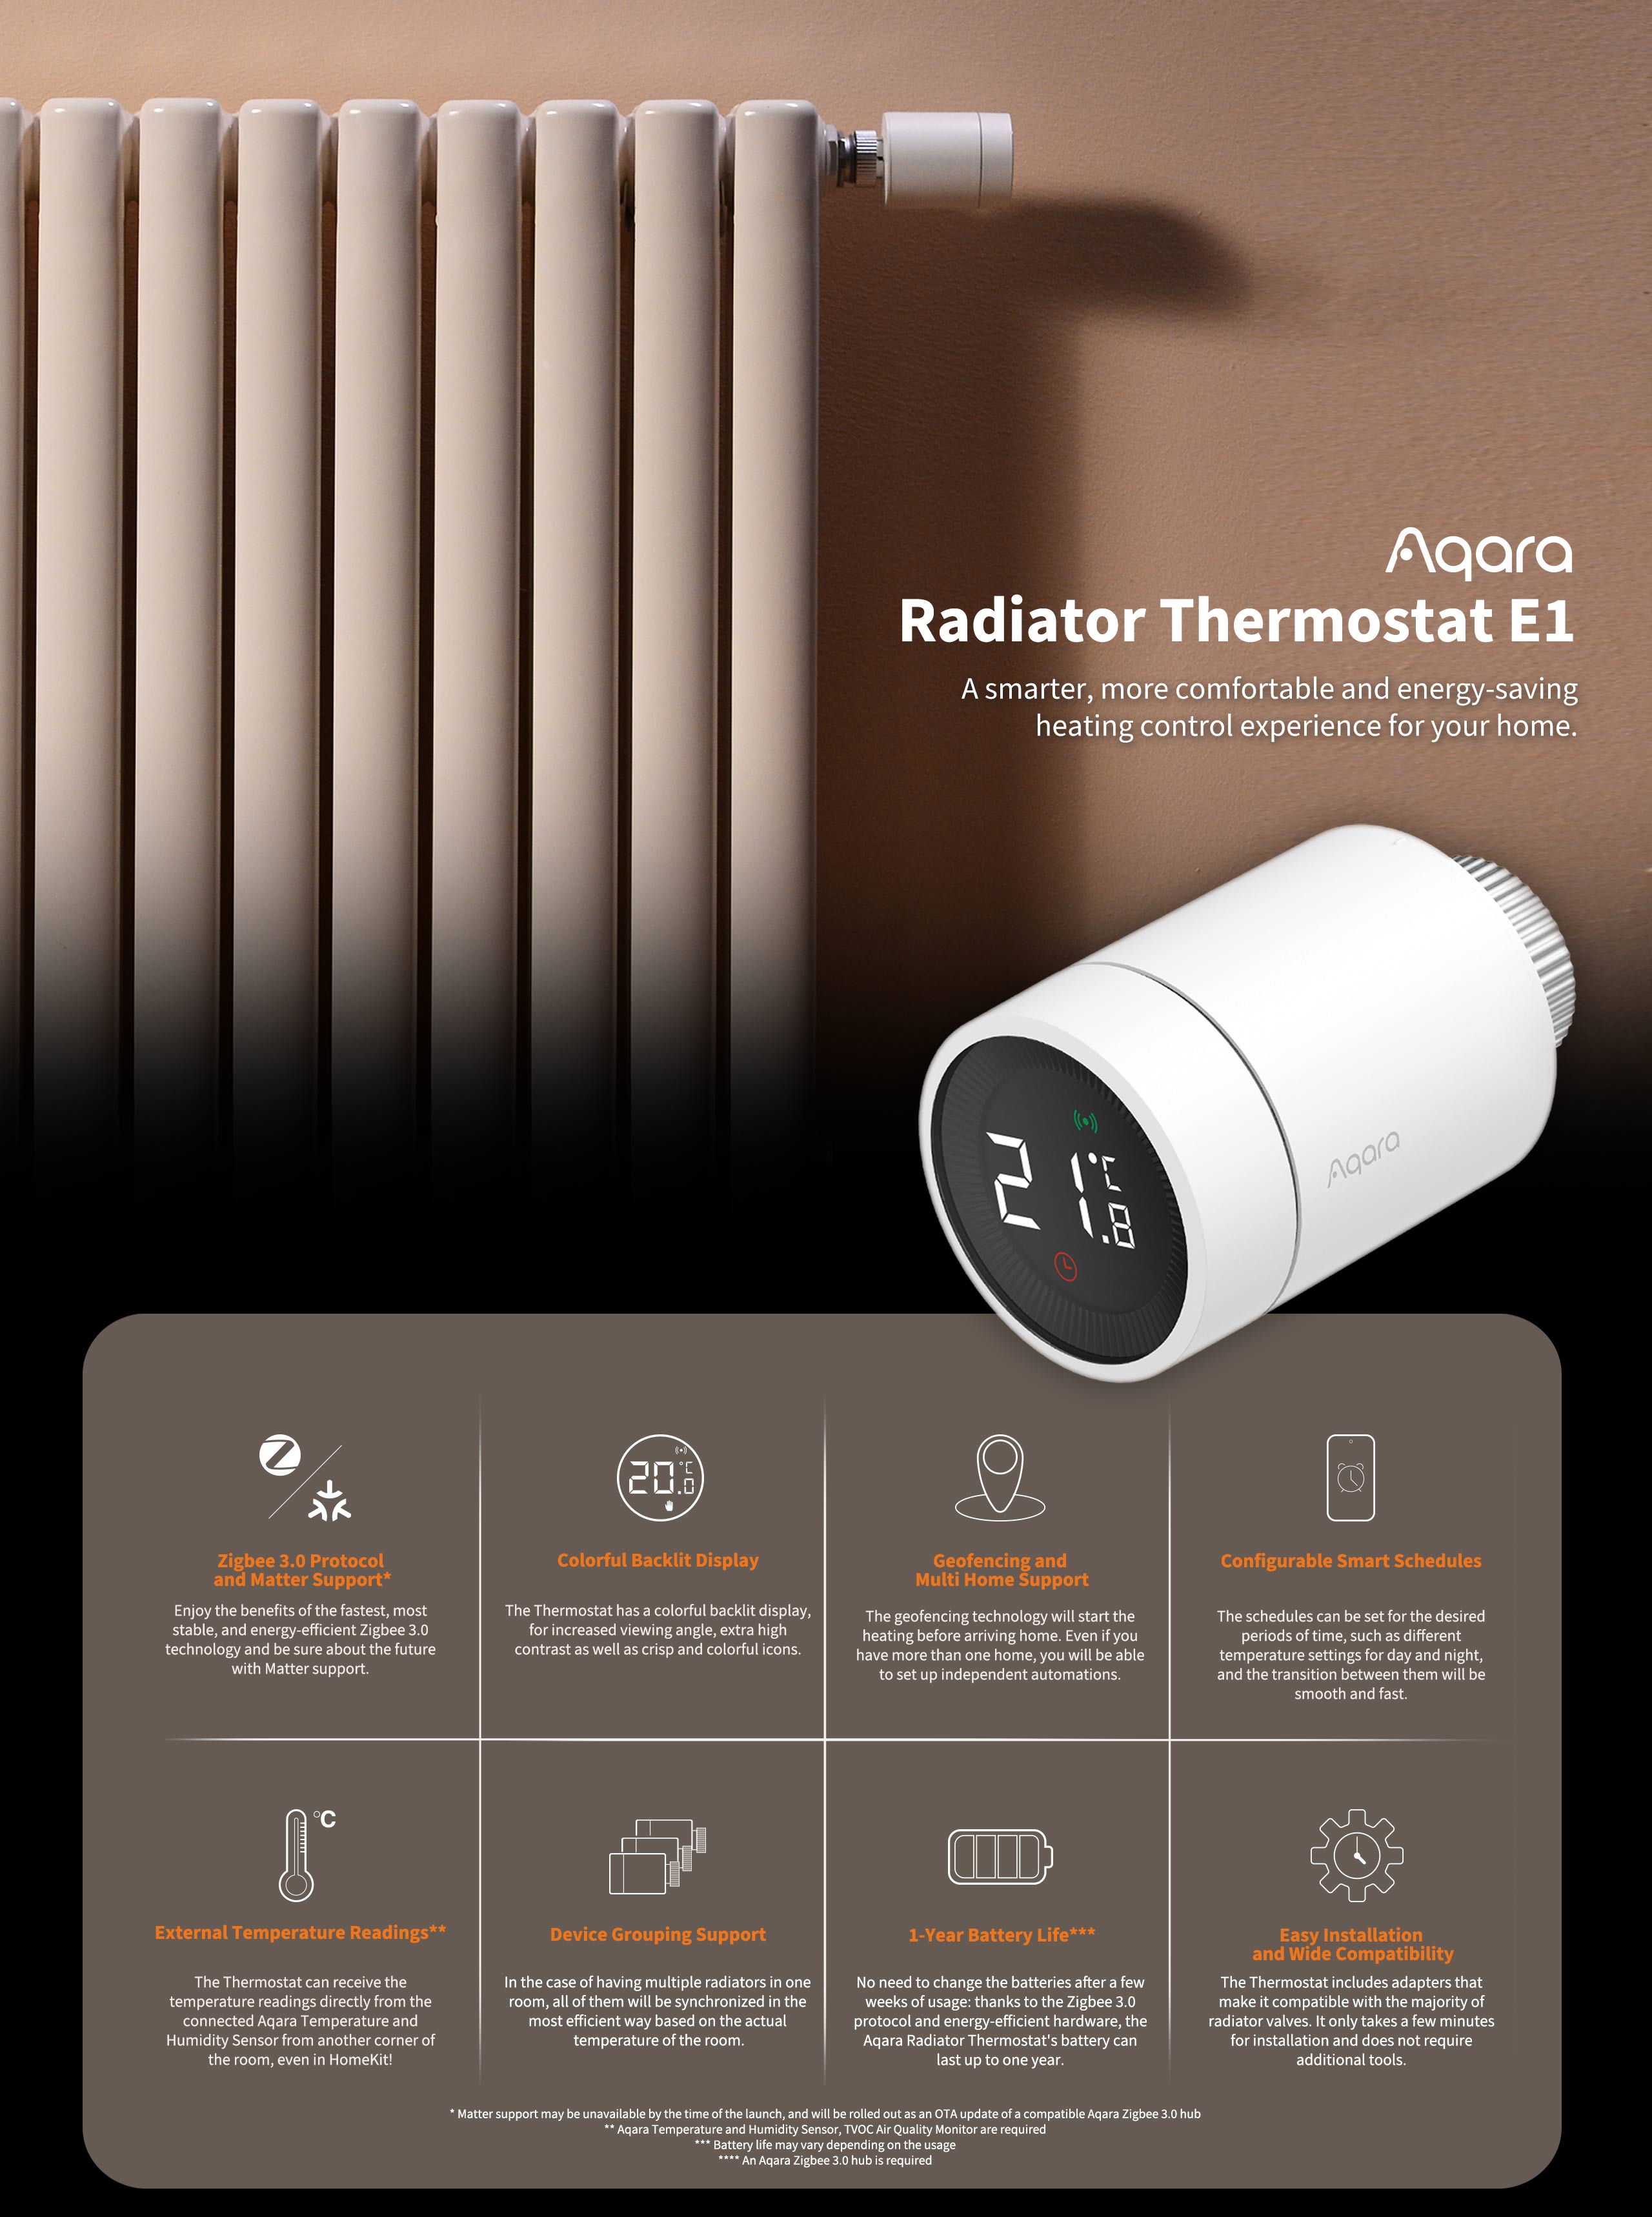
What is in the Box
Smart Radiator Thermostat E1 × 1, User Manual × 1, 1.5V AA Battery × 2, Adapter (RA/RAV/RAVL) × 3
Specifications
Model
SRTS-A01
Battery
3V DC (2 × 1.5V AA)
Wireless Protocols
Zigbee 3.0
Dimensions
Φ57×89 mm (Φ2.24×3.5 in.)
Operating Temperature
0°C ~ 40°C (32°F ~ 104°F)
Operating Humidity
0 ~ 95% RH, no condensation
Threaded Connection
M30×1.5 mm
Zigbee Maximum Output Power
<10 dBm
Zigbee Operation Frequency
2405-2480 MHz
What is in the Box
Smart Radiator Thermostat E1 × 1, User Manual × 1, 1.5V AA Battery × 2, Adapter (RA/RAV/RAVL) × 3